A noisy and intimidating neighbour
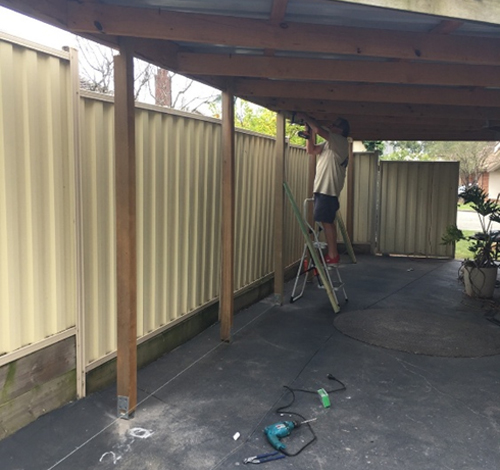

Step 1
The TunnelCore® panels were cut to size then undercoated and painted on one side of each panel with Wattyl Solarguard with two coats. One side only because ONLY one side would be exposed to the weather.
Step 2
Step 3
Step 4
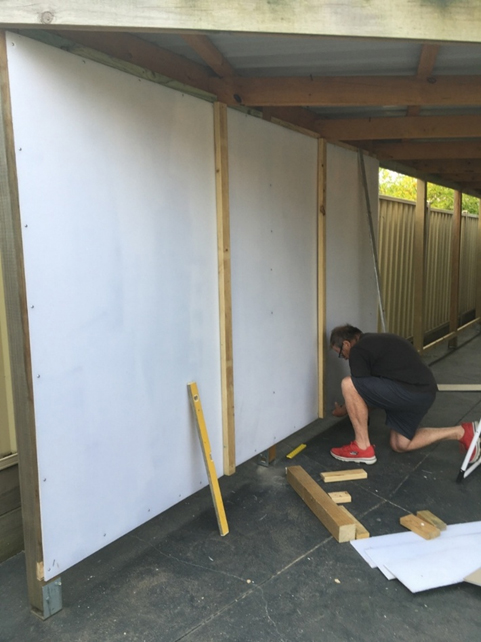
The first panel was fitted, the dog helped 😊. I pushed the panels against each other. Button screws were used to fix the panels.

Step 5
Step 6


Step 7
TunnelCore® panels were installed and screwed to the internal frame with button screws. A third coat of paint was applied to cover the screws and further seal and weatherproof the joints. The wooden ends were also painted.
The finished wall
Not being a tradesman and with the help of my wife the job was easy. The panels were light and easy to lift, cut and attach. The TunnelCore® panels have weather proofed the area, provided privacy and vastly reduced the impact of the noisy neighbour. The whole exercise was carried out at a very reasonable price. All wood was treated pine.

Our facility covers 2100sqm with 5 fully integrated production lines able to manufacture TunnelCore® in a large variety of colours, sizes and densities. We manufacture to order.